

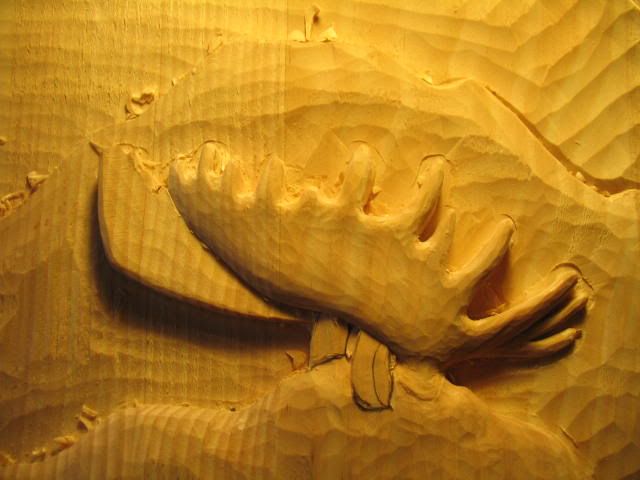
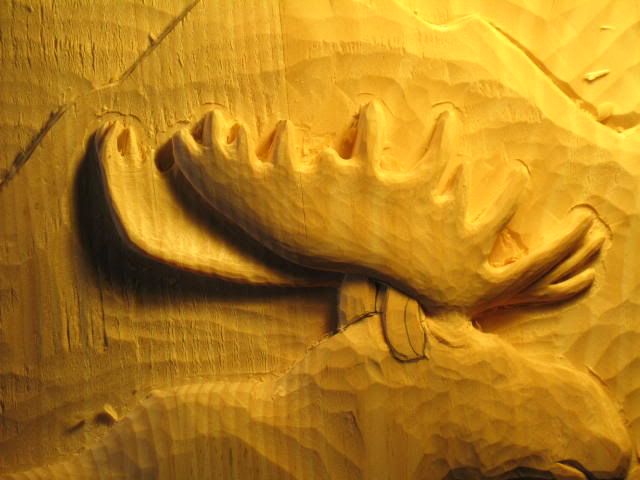
This property marker is for a local customer who also has a home in Jackson Hole WY.
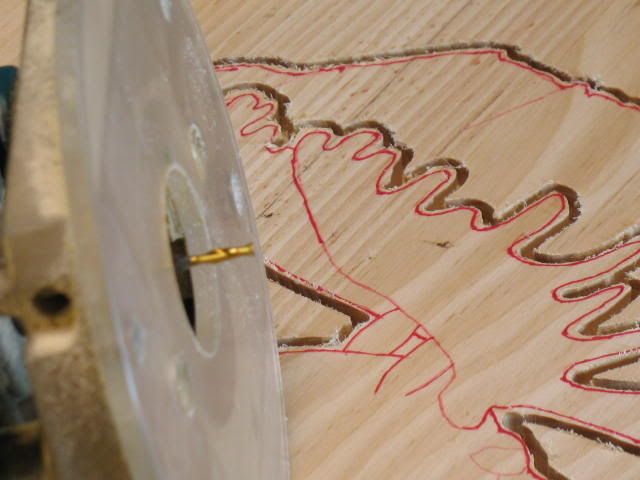
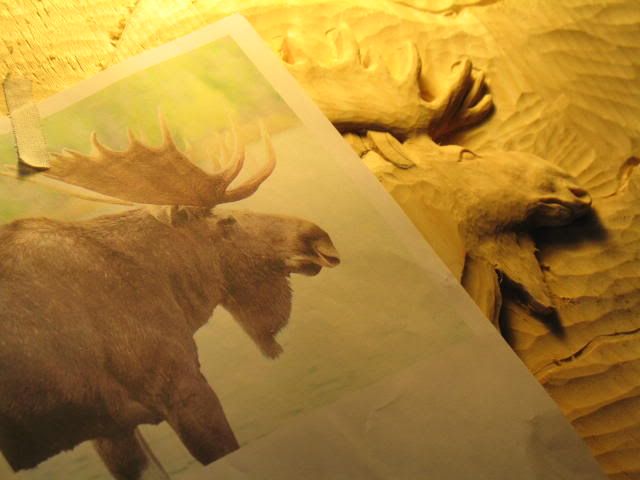
It's white pine, 2" thick and 26" wide and 30" tall. Here is the pattern.....

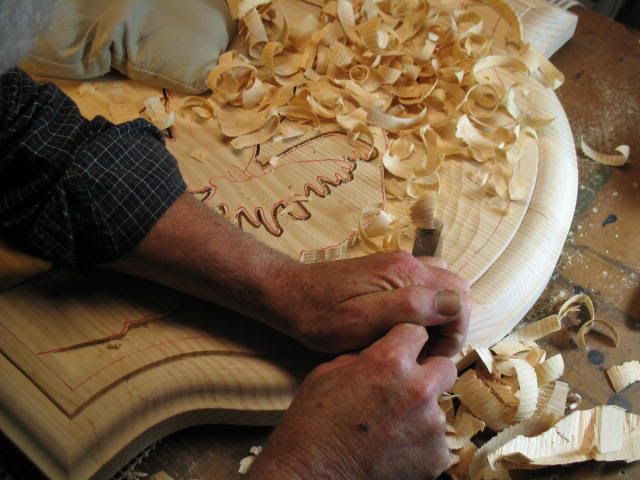
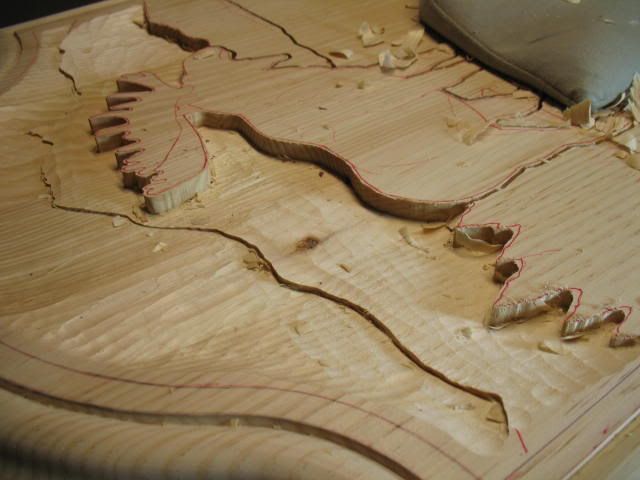
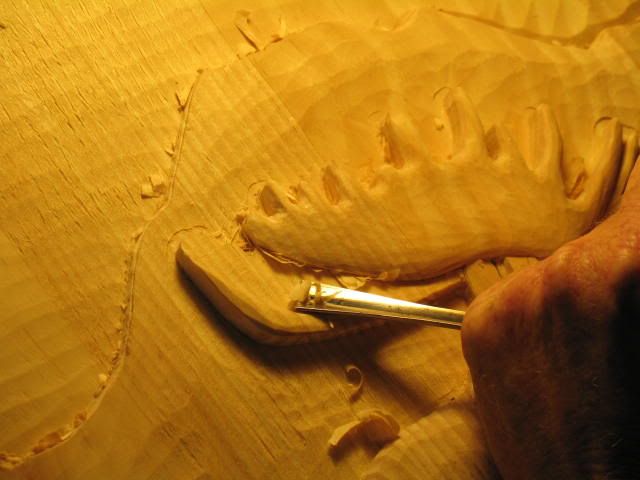
The panel is first cut out with a sabre saw and the edges are sanded. The shape of the boarder is an ogee style molding. The first step is to cut a 1/2" cove using a router. The overall width of the molding is 1 1/2". After the cove is cut, the remaining 1 inch is divided into 4 equal parts. I first define the inside boarder with a V parting tool tilted toward the outside edge and carve about 1/4" deep and meet the inside 1/4" mark.
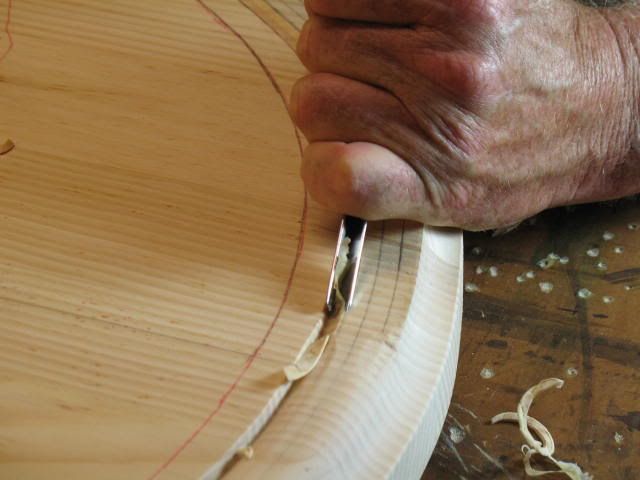
Then, using a shallow gouge, at aprox. a 45 degree angle I carve the outside quarter.
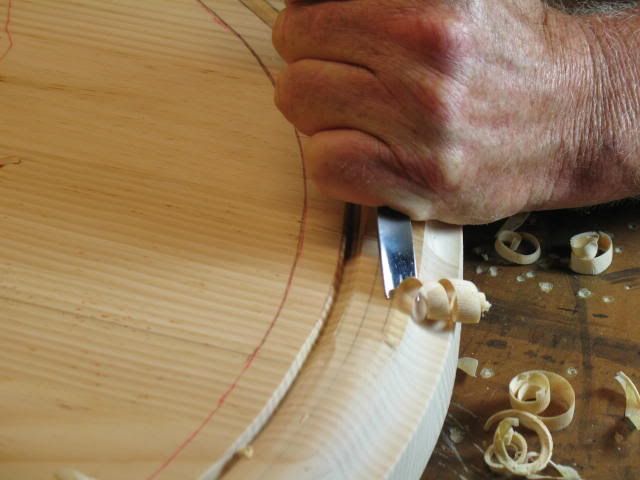
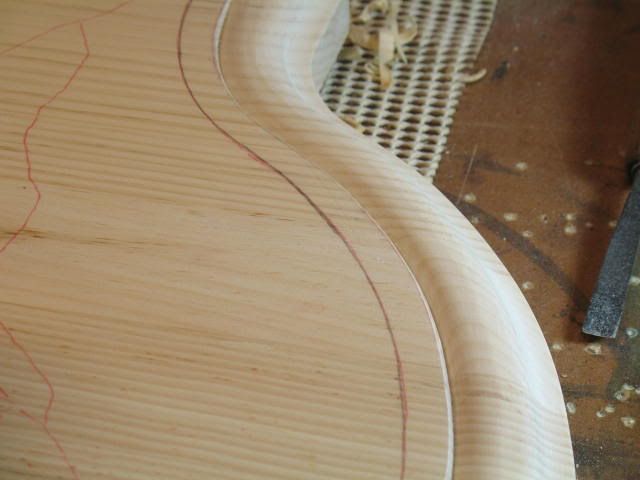
Then each resulting corners are removed. This completes the roughout. It's then sanded with first 80 grit, then 120 grit sand paper.
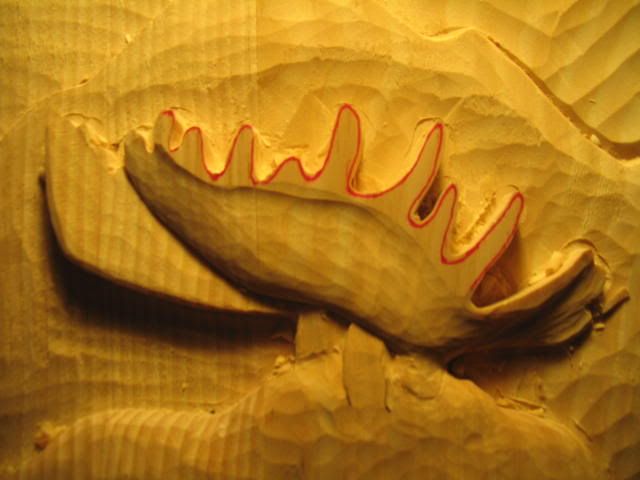
here it is finished...
Here's a slide show showing the steps (with more pics). If you put your brouser in the bottom right corner of your screen, controls will apear to control the showing.
http://w178.photobucket.com/pbwidget.sw ... c0e2c8.pbw
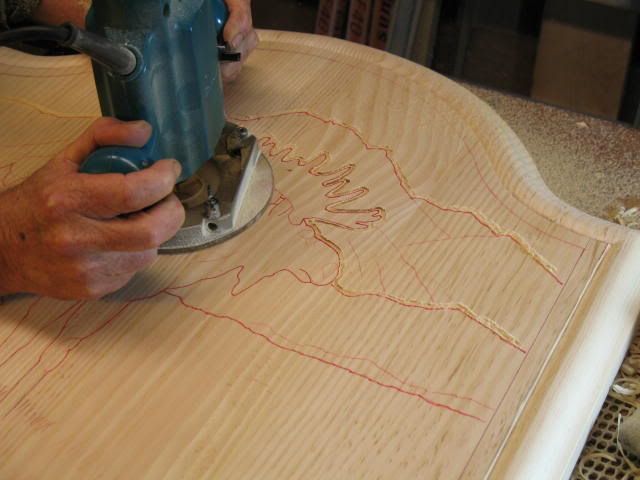
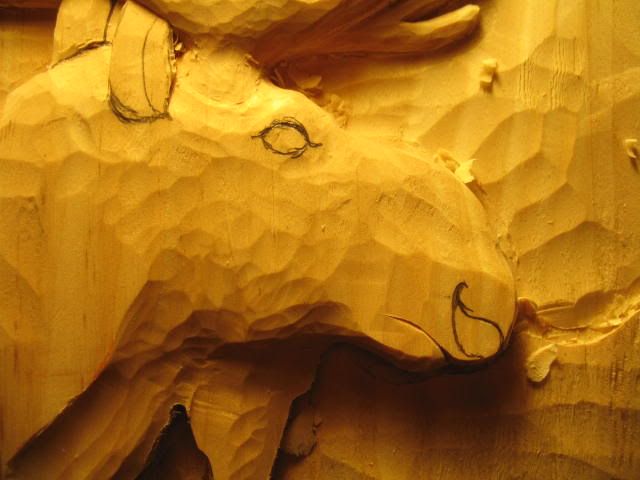
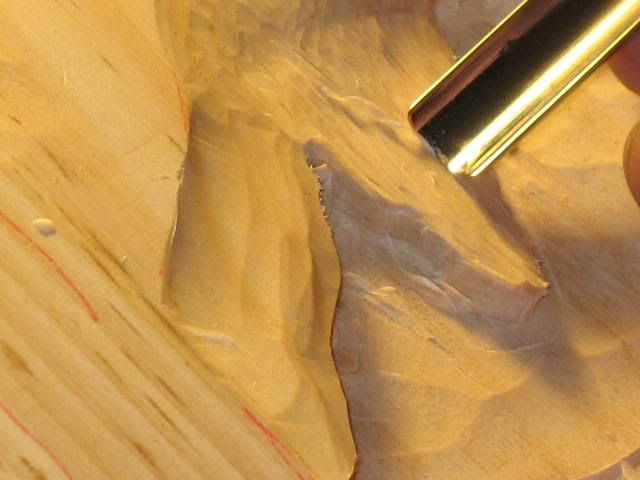
This going to be two sided so I only have about 3/4" of depth for this rather large image. I'll post more images as I proceed.
Of course, I'll try to answer any questions.
Joe


 Denver Chapter of the Letterheads