Sorry about that. I need to check in abit more often with this site.Been a bit busy here folks. My chipping is going great, I can now control what it does even though I always steer for a fern chip with just small amounts of sandblast showing. I think the key to succesful chipping is keeping the glue warm throughout the complete chipping process and not having the glue to thick on the glass. I have built a light box and placed it into my original glue chip box the same one as Rick had at Fine Gold 8,ft high and 10ft wide I have flouresent strip bulbs inside the box every 6 inches I can control the lightbox by turning on either all 19 bulbs for big work or spliting it and turning on 8 bulbs, just a electricity saving idea here thats all. The temprature in the box with the doors shut gets up to 85 degrees humidity will drop to 25% which is all you need .The idea is to get a slow chip like the fern effect you see.I sand blast the glass with virgin white alluminium oxide 220 or
silicon carbide then dust off my panel with a brush this brush I keep only for this process.Now get the room your working in warm enough ,warm up your glass with a hair dryer same way as stated Pour on your glue hot or cold it does not matter! It will still work the only difference is in the flowing don't worry about it cooling to much just get it
on the glass. Now the glue is on the glass let it sit for 1 hour then place it into your lightbox upright or if you have it flat without any covering this will be fine except you will get flying glass occasionally Rick's box contains all my glue chips so I can use it over again. Now this stage is where it is drying the glue from the gelling stage. The base of the glass is against the chipping box which is giving out even heat over the glass surface . By heating the glass from the gelling stage I have had a perfect fern chip everytime. To get a snail chip just let the glass dry naturally in a cool room then once it is dry and hard place it into the lightbox for the chipping process to begin. The mix I use is 1 glue to 1.1/2 water but if you really want to flow it out 1 to 2 would be fine and does not effect the chip but get a consistant thickness for the glue level. A fan in the box would work for stubborn areas .Also when cutting the glue after geling I keep dipping in my scalpal blade into hot water so when you cut you will notice the glue flow away from the side slightly this helps preventing over chips and plinks in your work. Another way also for controling the way the chip goes is running cut lines through you glue the glue follows the cuts along the line. Even a fan can control your chipping for direction, place the fan at the side of the glass about 2 ft away have it on low and leave it on throughout the drying stage the pattern is amazing! strands of fine chipped areas flowing away from the fan ..I will post some photos up tonight for you. Goodluck!
Dave
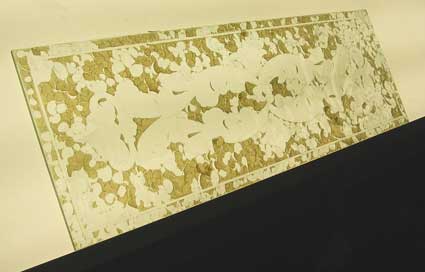
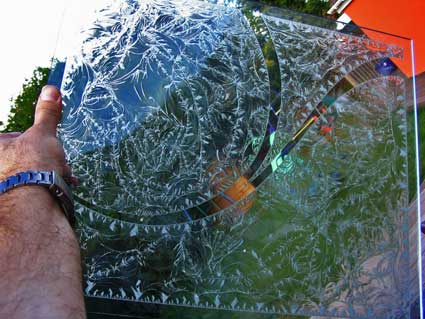
Glass chipping on fluorescent fixtures (top two).
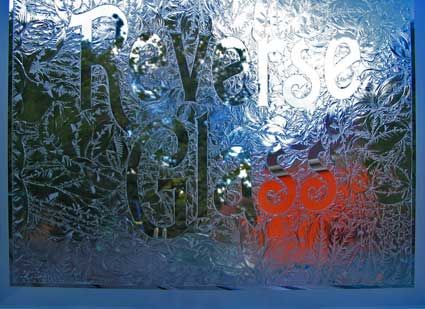
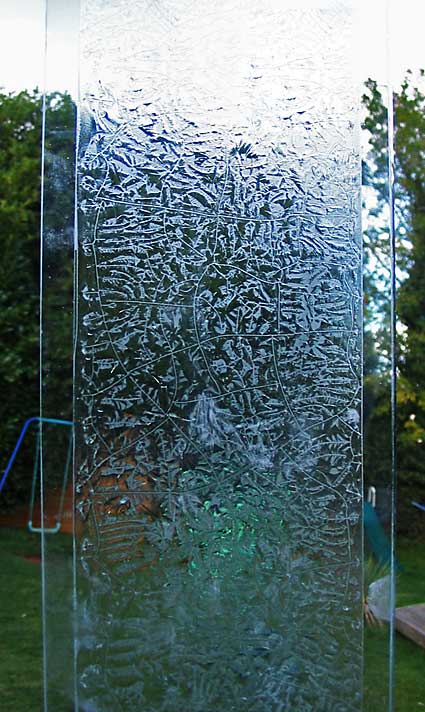
This shows the fan effect of chipping, above.
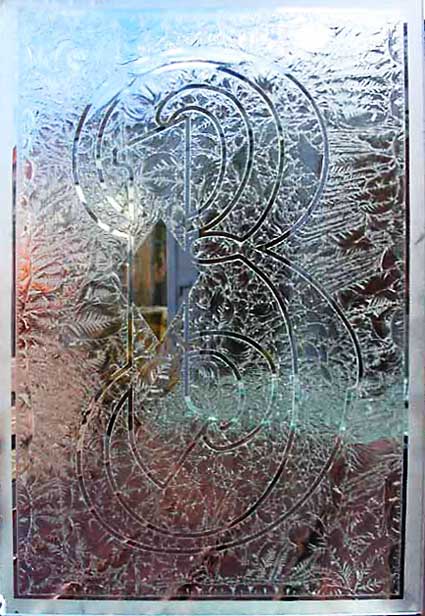
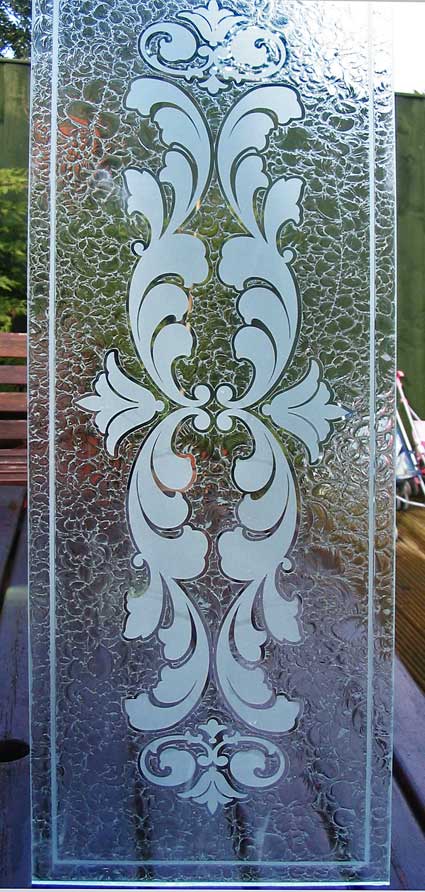
For the square chipping effect I used the glue a third time after it falling into the cabinet. I let it soak in water then re-heated it in a microwave until all the glass had gone to the bottom of the pot just leaving glue for the third chip. so the glue had got weaker through the amount of times it being used, below.
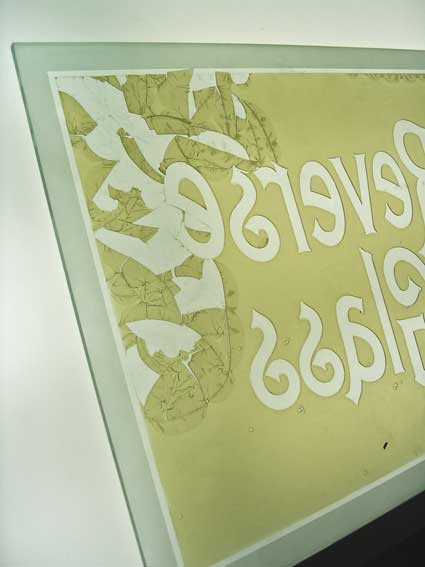
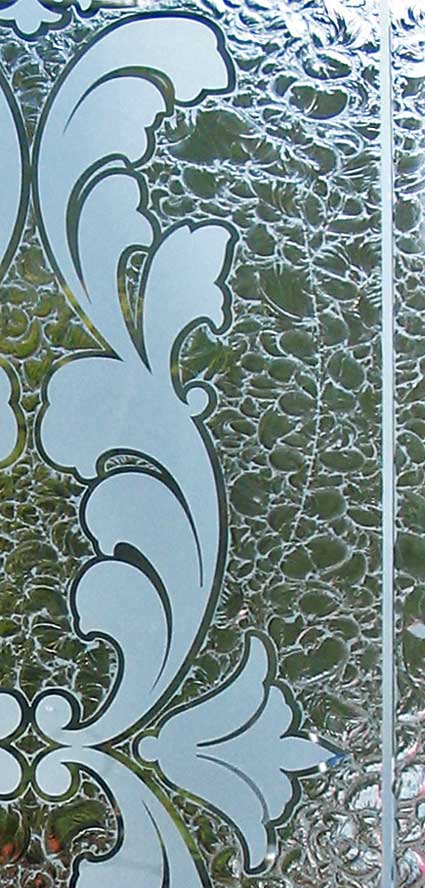
These scrolls your seeing are sandblasted at the same time as everything else then the glue is only applied to the chipping areas, below.
 Denver Chapter of the Letterheads