Welcome to The Hand Lettering Forum! This is an interactive Bulletin Board on the topics of Sign making, design, fabrication, History, old Books and of coarse Letterheads, Keepers of the craft. The Hand Lettering Forum features links to resources, sign art history, techniques, and artists profiles. Learn more about Letterheads at https://theletterheads.com. Below you'll see Mchat has been added as a live communication portal for trial, and the Main forum Links are listed below.
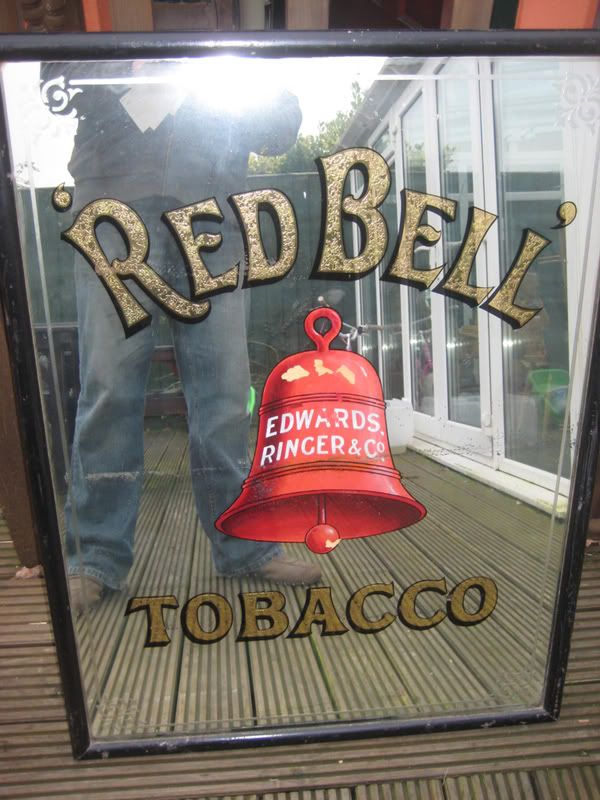
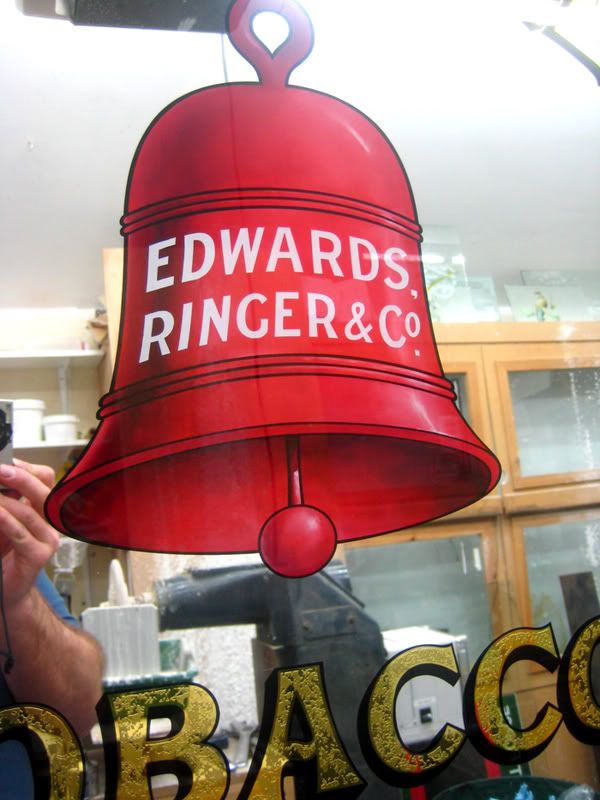
I have a 3'6''x2'6''x 1/2''thick Red Bell glass sign to restore in the next few weeks. I was striping the silver off yesterday and noticed the letters had been Angelgilded first.
They must of acid etched the letters first then angelgilded an area over the letters then printed the back including the bright lines around the letters ,wiped off and then printed the black outline and shade in chemical resistant paint. The whole piece was then silvered and backed up. You could not see any silver over the Angelgilded text which I have come across before. There was probably lots of these made on mass which explains the Angelgilding process on this glass panel. Neat way of making these signs I think.
Dave
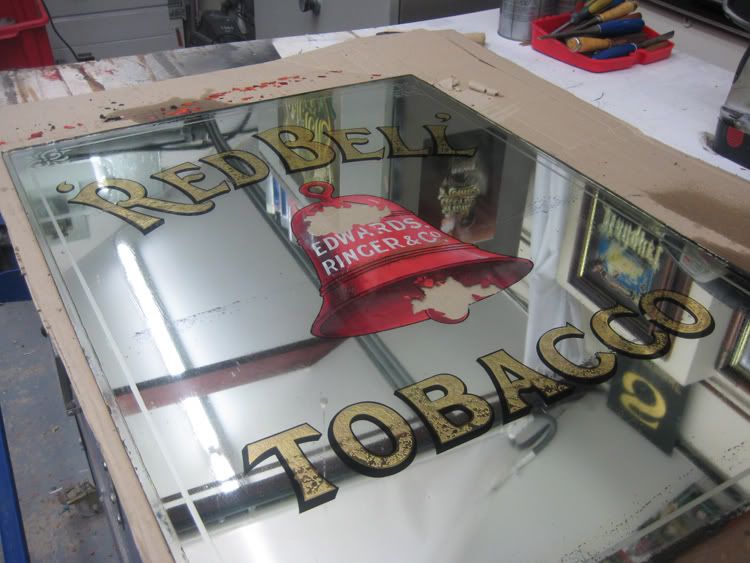
Right back to square one, Huh? Well I guess not quite, the surface alterations are still there.
How old is the sign?
Are the border and the lettering the only surface alterations or does the bell image include some too? It's hard to tell from your cleared glass pic.
I believe there is no shame in failure. Rather, the shame lies in the loss of all the things that might have been, but for the fear of failure.
Hi Kelly. How are you? Did you ever manage to finish the glass panel with the flowers on? I bet it came out real nice knowing you.
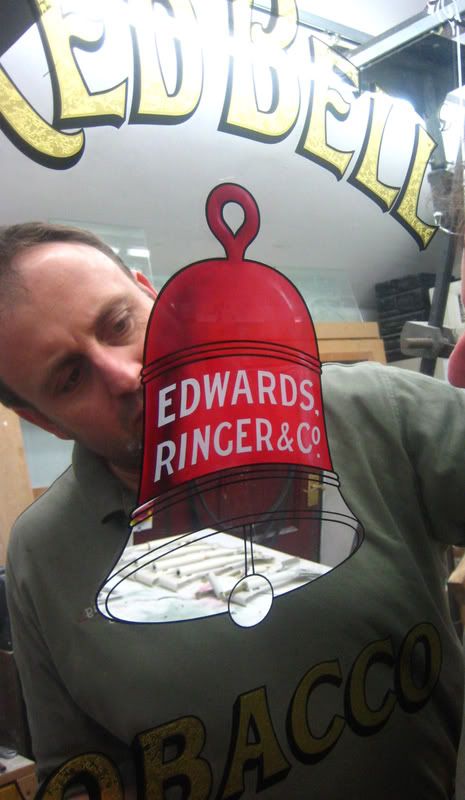
The Red Bell glass is acid etched on the letters and the surrounding line and corners.,the date is probably about 1910. There is chunks of old putty attached to the outer sides of the glass ,it is very hard to remove.
Would anyone here have any ideas on solvents to use for removing old glaziers putty?
Thanks
Perhaps try soaking the putty in linseed or cooking oil?....(its linseed based isn't it?..maybe it will soften overnight enough for you to scrape it off?)
Looking forward to seeing the finished piece..Bet you take LOADS of pics before you strip a thing like that.
Dave,
Linseed oil and whiteing were key components in glazer's putty. I would saturate that old putty with mineral spirits or paint thinner and allow it to soak in. After it has soaked in well, I would test a razor blade in coaxing it off.
One added idea would be to carefully belt sand the majority of the putty off, then treat the balance with the spirits.
There may be a possibility of lead (litharge) so be safe about handling and dust inhalation.
Pat
CAREFUL! Heat and glass don't always mix. If one area is heated more than another, your glass will break! ...from experiance... more than once too, SWM....
Thanks for the info everyone.I poured on Turps (white spirit) over night and then in the morning was able to scrape it off nicely. It was like stone attached to the glass. silver it tommorow........
Thanks
Dave
Yikkes.....that reminds me of a number of years ago (9 or 10 me thinks) I was working on a 5'x5' chipped glass piece. It was summer and humid here and was trying to get the chipping done. It was in a small room with heaters and heat lamps and went in on Sunday to see how things were making out. I saw a small area that hadn't chipped out completely and moved the lamp a little closer. (a few inches) and sitting in the other room I heard a "crick" sound from within. I sat there and watched (heat lamps off by this time) a crack go clean across the entire 5' over the space of 5 or so minutes. What was worse was this was the second one as the first also broke while working on it. Can't exactly remember how but I nearly broke into tears myself this time.
A few years ago I was working on a chipped glass project that was about 6' x 6'. It was 1/2" laminated glass - cost me about $600 for the raw glass.
Most of it had chipped beatutifully but there was a small area that had not chipped yet. I placed a utility heater close to it and headed to the airport to pick up Tom Seibert who was helping me out on some work. When we got back to my place there was a very nice run which had begun on the edge beside the heater.
Combine the concentrated heat with lami which is fragile on the edges and I chalked another one up to experience - and added something to the landfill.
I weep with you, Doug. And I rejoice with Dave that he got that putty off without our heated experience!
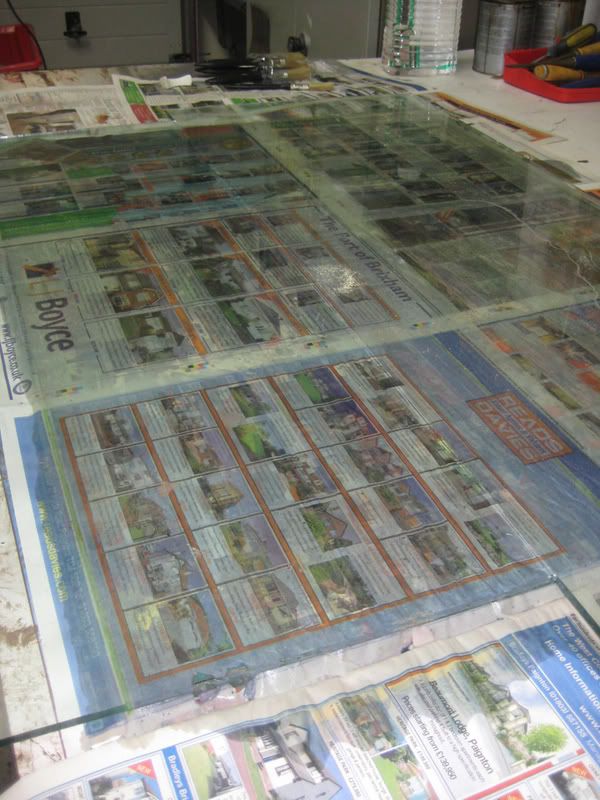
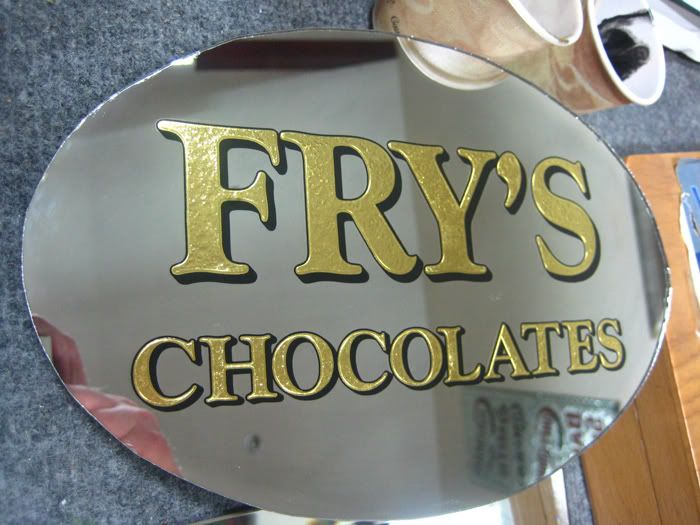
I finished this panel a few days back. It will now go back in to it's frame and the collector will pick it up next week .I guess he Will then sell it on to a client .
It was part of a batch of silvered mirrors along with this new Fry's Chocolate oval piece . excuse the glass cutting!
Dave
FINGER BLENDING AFTER STIPPLING
Last edited by DAVE SMITH on Thu Mar 20, 2008 1:27 pm, edited 1 time in total.
Thanks Doug, i will be planning a small workshop here next year for glass artisans ,combining it with a tour of London glass and pubs should be a good crack!
Your welcome to come over.
Dave

 Denver Chapter of the Letterheads