Welcome to The Hand Lettering Forum! This is an interactive Bulletin Board on the topics of Sign making, design, fabrication, History, old Books and of coarse Letterheads, Keepers of the craft. The Hand Lettering Forum features links to resources, sign art history, techniques, and artists profiles. Learn more about Letterheads at https://theletterheads.com. Below you'll see Mchat has been added as a live communication portal for trial, and the Main forum Links are listed below.
For months now I have been trying to find how to verticaly screenprint gold on glass.
The Steven Parish notes on the Original Letterheads webiste is not very clear about it.
And reading the first 15 years of Signcraft magazine (got them as a christmas gift from my family ) I realize that the 'How To' is mentioned in issue May/June 1995 writen by Robert Frese. Just my luck that that issue was not available anymore as a backorder from Signcraft.
Is there anybody out their who would explain the "Steven Parish/Robert Frese" step by step of this method of placing the screen to the glass, pre-position it with studs, or using the Steven Parish clamps, how these can be made myself etc etc? Ofcourse it is difficult to tell your well aclaimed secrets, but I am loosing it here. Really want to make these highly detailed goldleaf jobs on windows sooo much!
Maybe someone would be so nice to scan the article and mail it, or the step by steps process, to me?
Thanks,
Erik
Last edited by erik winkler on Wed Nov 09, 2011 8:55 am, edited 1 time in total.
Erik.
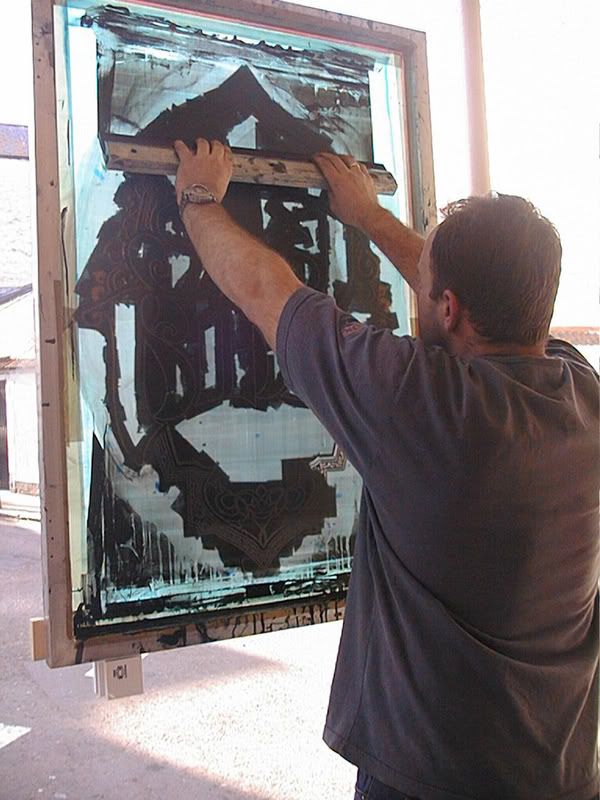
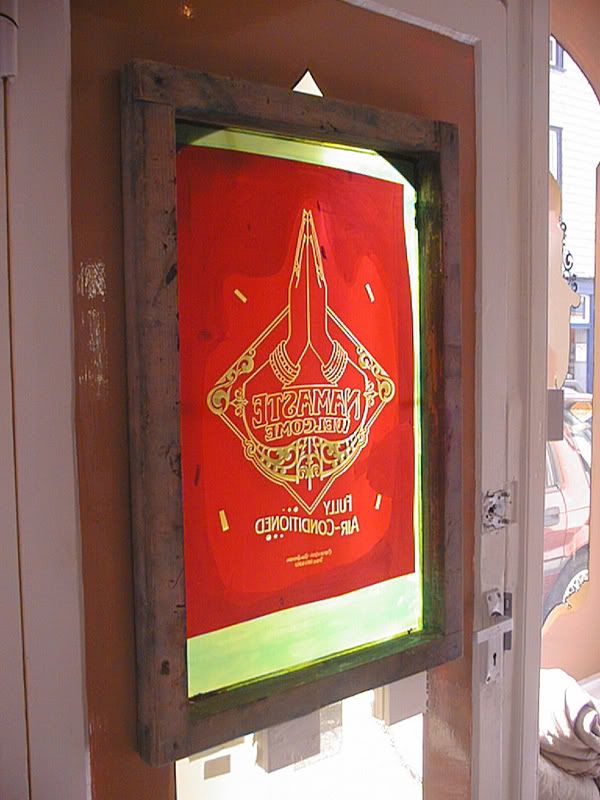
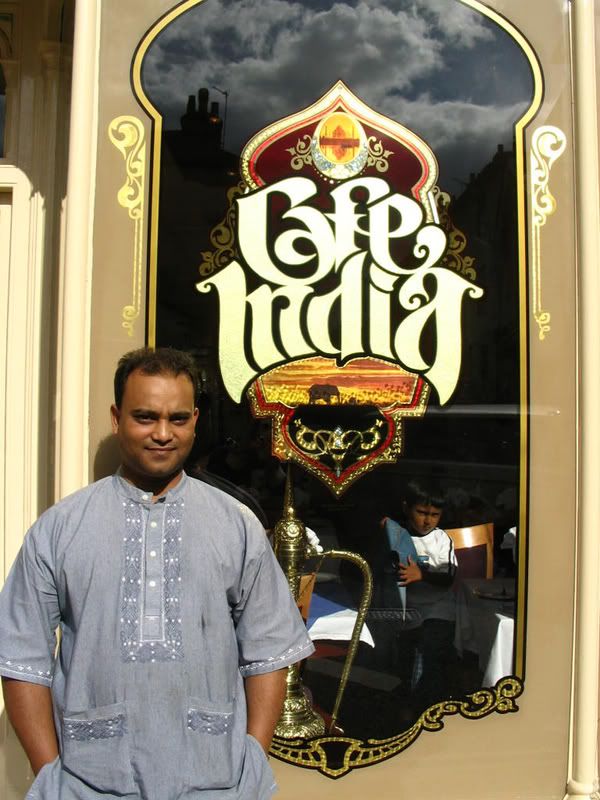
I use plastic blocks with double sided tape stuck to the glass. It's straight forward enough but gets tricky on the bigger jobs. I screened a window once which had a slight bend to it ,after my first pass with the ink I noticed the centre area had missed with the paint the pressure was there and the rubber was down so I pressed down with my fingers on the rubber on a second pass and got lucky.It matched perfectly with no double prints. at the bottom of the screen I made a holder to catch any paint which dripped from the screen it self ,I placed some 3ml foamex to lift the screen from the glass enough for the mesh to lift off the glass once the print was made. Do a small panel first to get the idea. here is a panel I did a few years ago using this technique.I loaded the screen with ink then put it up to the glass and pulled down, once i had printed it I pulled the squeegy back over the screen again and went to the other side of the restaurant to make another print, it was a hot day so I needed to be quick to aviod drying in the screen. they came out very sharp. I personally get a bit nervous when it come to screening as things can go wrong on such alott of gilded work that as taken hours to do.
Its not like printing hundreds of posters as you can easily put that right,I guess it's down to making sure your ready with the whole procedure to avoid mistakes.
Dave
in this shot I was only demonstrating and the holder had been removed from the bottom.
but it gives you the idea ,screening both ways works well ,just make sure you have covered the customers carpets just in case
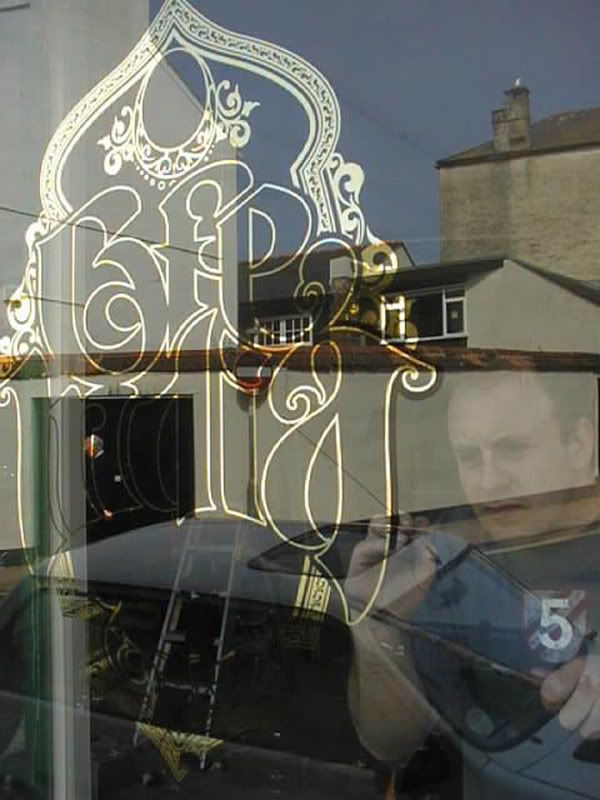
I saw this window with my own eyes. I remember that my dad and I visited Devon after we had done your workshop and noticed these windows.
It immediatly attracted our attention and we looked like fools when studiyng the work with our noses on the glass.
It was good that the restaurant did not opened it doors yet, otherwise the owner would have thrown our greasy noses in the curry!
(By the way i am still on a curry died, to many people around me every day and I am the only one with a gasmask now ).
But do I understand correctly that you screen from top to bottom and then immediatly from bottom to top?
What do you mean with "loaded the screen with ink"? Do you mean smacked some ink on the top or did you already filled all the wholes in the screen?
How can I prevent the screen window pushing the foamex pads down when screening downwards?
Erik
You can pull across with ease,you don't need to much pressure plus the tape is strong as long as you cleaned the glass for it to stick to .I pulled this way as I was more comfortable with this position. As for loading the screen. I always pull a coat of paint over the screen as it lays down a slightly thicker layer
and also the paint is then ready for print. again do some experiments on some glass to get the idea. I guess there are many here that have there ideal way of doing things . Robert Freize is constantly doing this type of work you may be worth emailing him for some ideas on his method.
Erik,
I watched Steven do it a few times. None of his windows were as large as the example Dave showed.
Steven made a little jig to hold his squeegee basically horizontal on his worktable. Then he used a palette knife and spread a load of ink onto the upper side of the squeegee blade until he had a solid, smooth layer/supply of ink on it, mainly at the leading edge.
When ready to screen, we tilted the squeegee slightly down to let more ink build up at the edge, the he made one single pass from bottom to top. If he had multiple windows, he cleaned everything up and started over at the second window. Personally, I would have made at least two identical screens for thos "on location" jobs.
M. Jackson
Mike Jackson / co-administrator Golden Era Studios
Vintage Ornamental Clip art
Jackson Hole, WY
Thats a lovely job Dave-
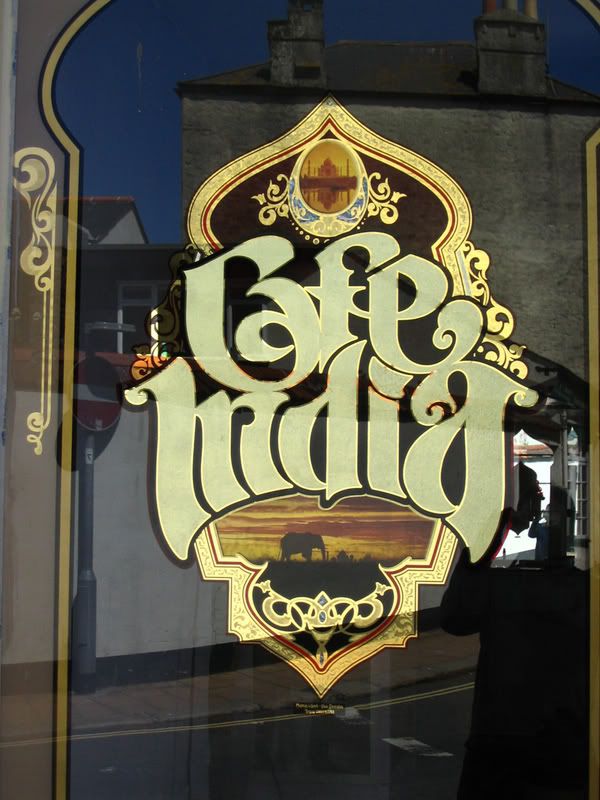
Its not clear from the pics ,- All the patterning in the top arch (of the logo not the window)- is that 2 colours of gold? - Matt centers? -or just detailed on the back and burnished throu???
..WOW, and those pictorials!.. are they reverse painted direct or onto a release?
Wayne there are two golds matt and mirror finish,the matt centres are different shades all over the design. Doug the Pictorials are a combination of paint and digital.I airbrushed the pictorial skies using a wacom tablet in Photoshop then had them printed onto clear high quality vinyl in reverse ,the bottom half was black enamel blended up to allow for a neat transition to the digital image ,once it was applied to the glass I sized the transparent print with 3 hr goldsize and matt gilded over the top,then all was left to do was some engine turns to give some movement to the sky and the buildings.
These were done 5 years ago and are still looking new except the window cleaners are attacking the outside area (red transparent and varnish line) occasionally with there squeegies and rags, told the indian guys many times but they just don't understand anymore so I gave up.
Dave

 Denver Chapter of the Letterheads